To obtain a new version of the MCC firmware, please contact us.
In order to update the PCC firmware, you need to connect the PCC via a USB cable to the computer. In the device panel, you should see a new device - Arduino Duo Programming Port (COMXX).
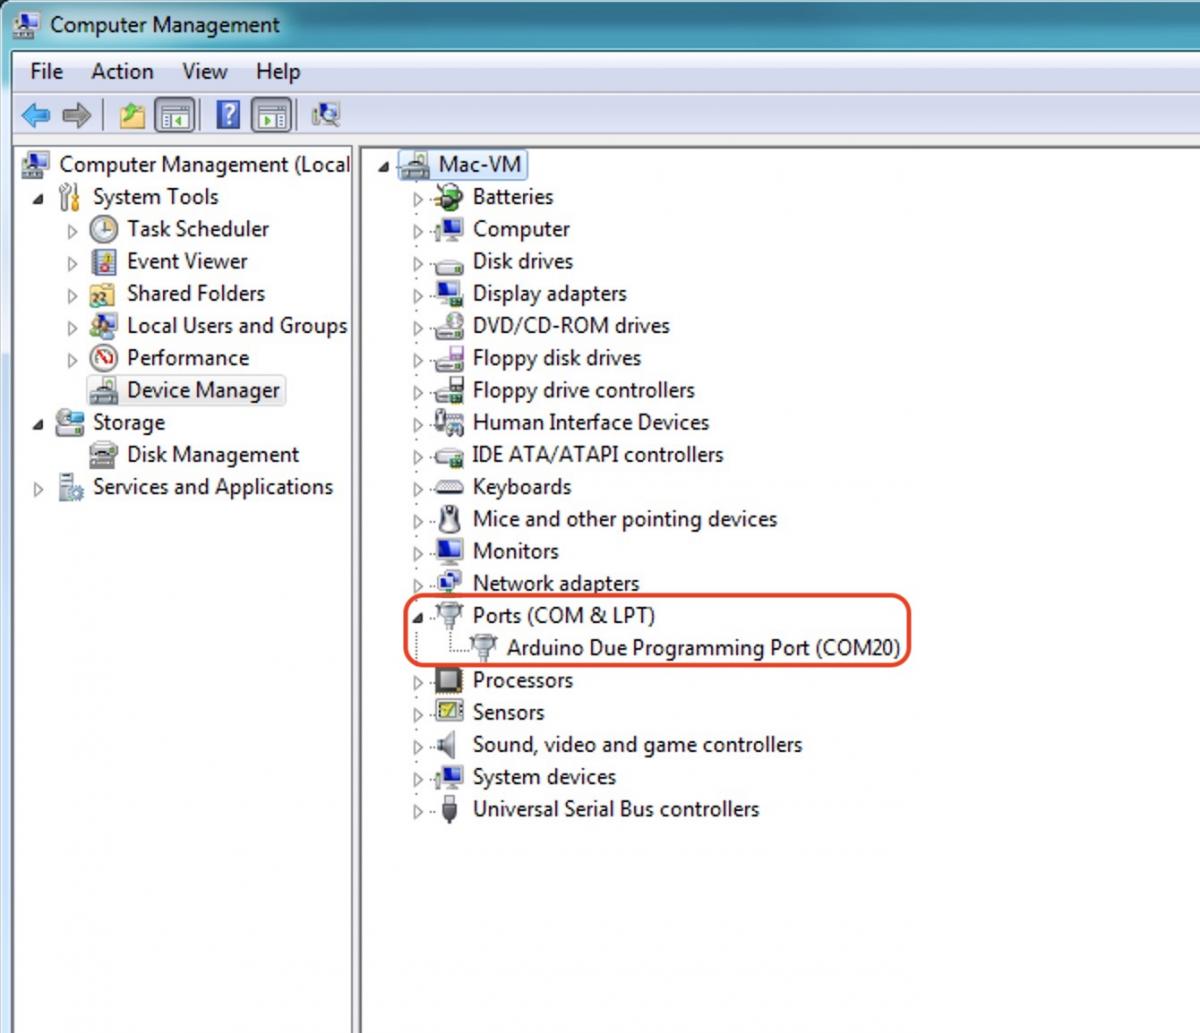
If your computer asks for drivers to connect Arduino, please download its below on this page. Unzip the archive in the specify folder. After installing and connecting the PCC, you should see the Arduino connected to the computer via a specific COM port. Remember it, it will be necessary for further actions.
Then run the PCC configurator program. It can also be downloaded below on this page. In the window, select the appropriate COM port on which the PCC is connected. Select the file with the firmware (received from us) and follow all the steps indicated in the picture below.

After step 4 (clicking the Upload button), you will see a warning window about uploading a new firmware.
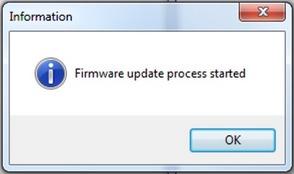
Click OK. After that a command prompt window should open with the firmware updating of the PCC. After completing the firmware process in the command line console, you should see a line with 100% firmware completion. See the screenshot below.
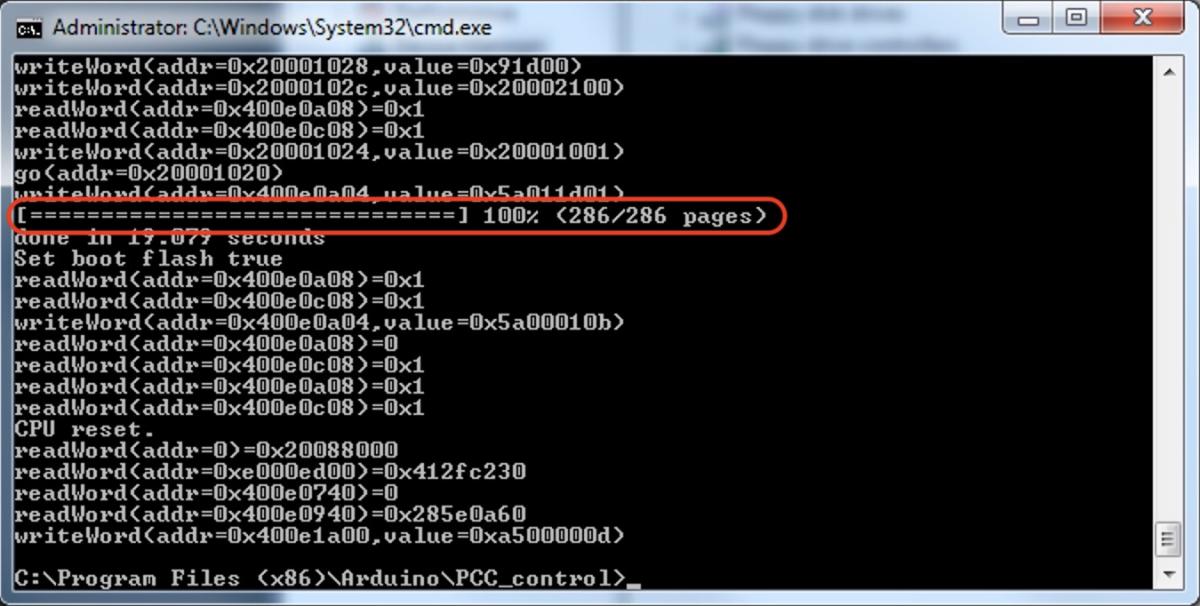
If you see this line, then the firmware updating was successful. To start a new firmware for the PCC, turn the power off and on again.