Support

Error message

  • Notice: Trying to access array offset on value of type int in element_children() (line 6609 of /home/ioda/arrakis/public_html/includes/common.inc).
  • Notice: Trying to access array offset on value of type int in element_children() (line 6609 of /home/ioda/arrakis/public_html/includes/common.inc).
  • Notice: Trying to access array offset on value of type int in element_children() (line 6609 of /home/ioda/arrakis/public_html/includes/common.inc).
  • Notice: Trying to access array offset on value of type int in element_children() (line 6609 of /home/ioda/arrakis/public_html/includes/common.inc).
  • Notice: Trying to access array offset on value of type int in element_children() (line 6609 of /home/ioda/arrakis/public_html/includes/common.inc).
  • Notice: Trying to access array offset on value of type int in element_children() (line 6609 of /home/ioda/arrakis/public_html/includes/common.inc).
  • Notice: Trying to access array offset on value of type int in element_children() (line 6609 of /home/ioda/arrakis/public_html/includes/common.inc).
  • Notice: Trying to access array offset on value of type int in element_children() (line 6609 of /home/ioda/arrakis/public_html/includes/common.inc).
  • Notice: Trying to access array offset on value of type int in element_children() (line 6609 of /home/ioda/arrakis/public_html/includes/common.inc).
  • Notice: Trying to access array offset on value of type int in element_children() (line 6609 of /home/ioda/arrakis/public_html/includes/common.inc).
  • Notice: Trying to access array offset on value of type int in element_children() (line 6609 of /home/ioda/arrakis/public_html/includes/common.inc).
  • Notice: Trying to access array offset on value of type int in element_children() (line 6609 of /home/ioda/arrakis/public_html/includes/common.inc).
  • Notice: Trying to access array offset on value of type int in element_children() (line 6609 of /home/ioda/arrakis/public_html/includes/common.inc).
  • Notice: Trying to access array offset on value of type int in element_children() (line 6609 of /home/ioda/arrakis/public_html/includes/common.inc).
  • Deprecated function: implode(): Passing glue string after array is deprecated. Swap the parameters in drupal_get_feeds() (line 394 of /home/ioda/arrakis/public_html/includes/common.inc).

Local management console of PCC

PCC requires an Internet connection, both for downloading configurations and for uploading log files to an external server. But in exceptional cases (accident on the communication channel, etc.), in the absence of the Internet, the control of the observatory PCC is still required. For these purposes, we have created a local version of the PCC management system. It is no different from the standard, except that it requires a configuration file on the local computer. The local configuration file can be downloaded on the PCC settings page (Internet required).

SMS management

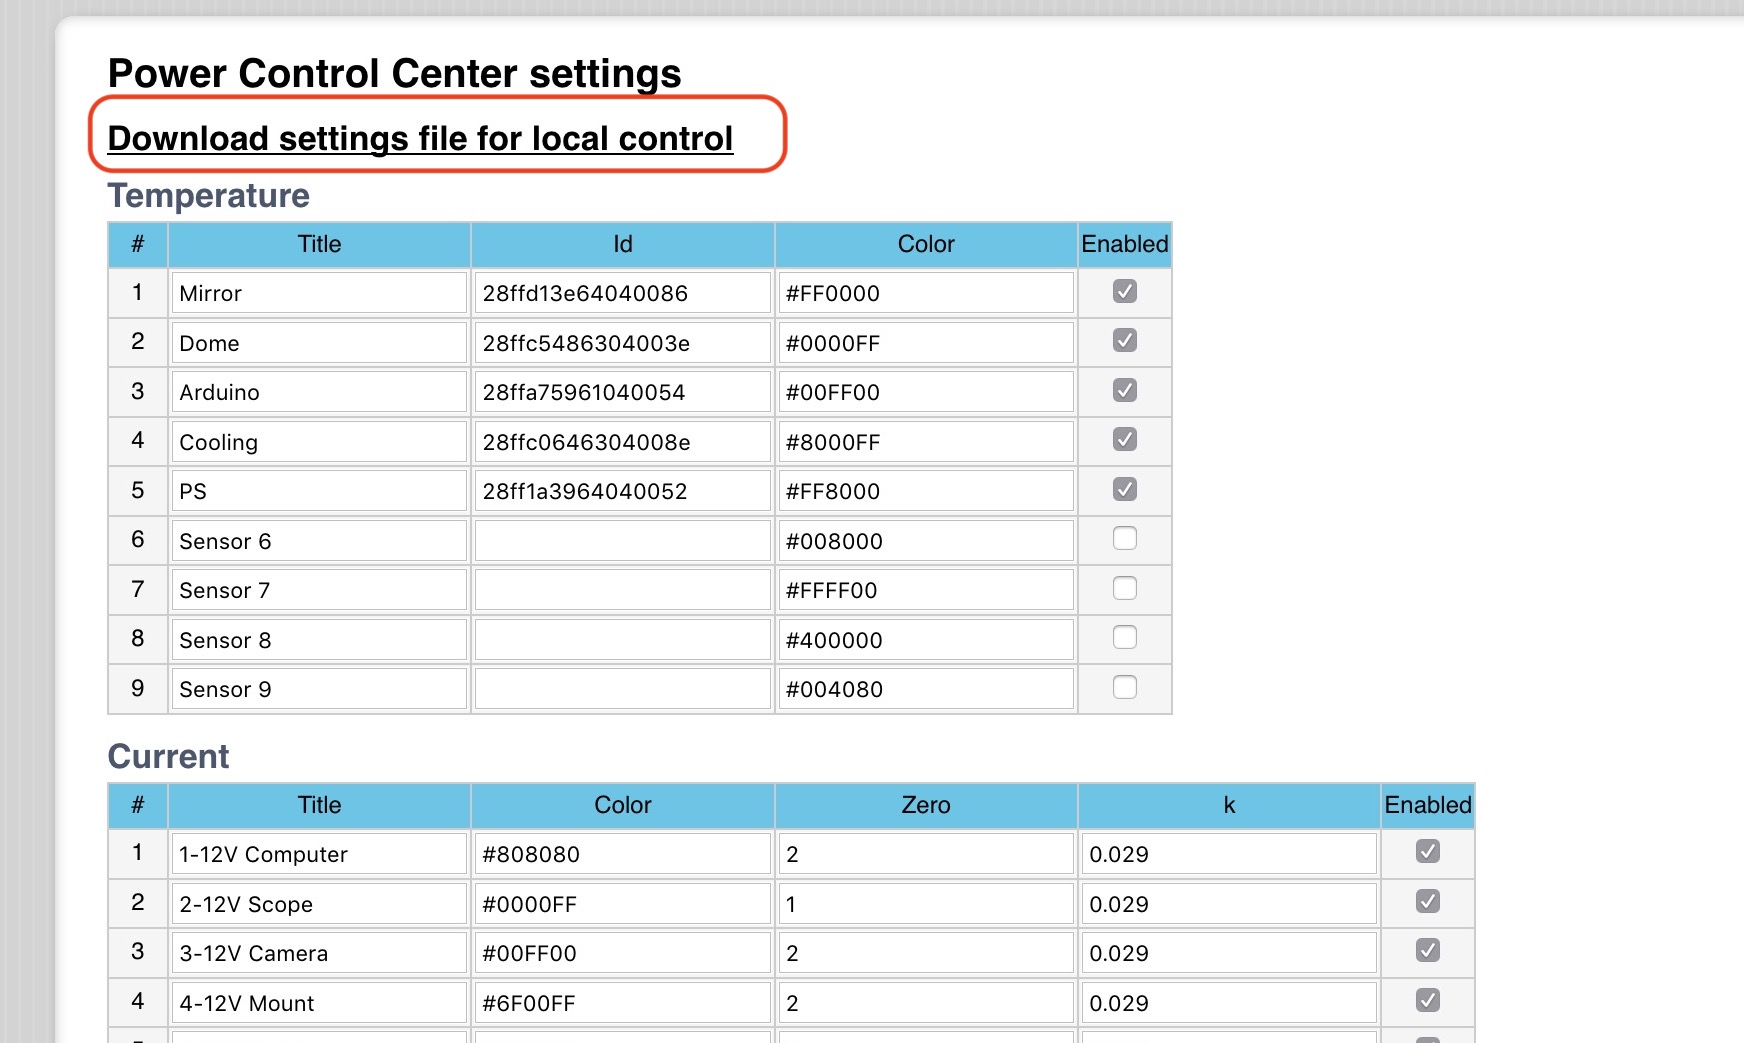
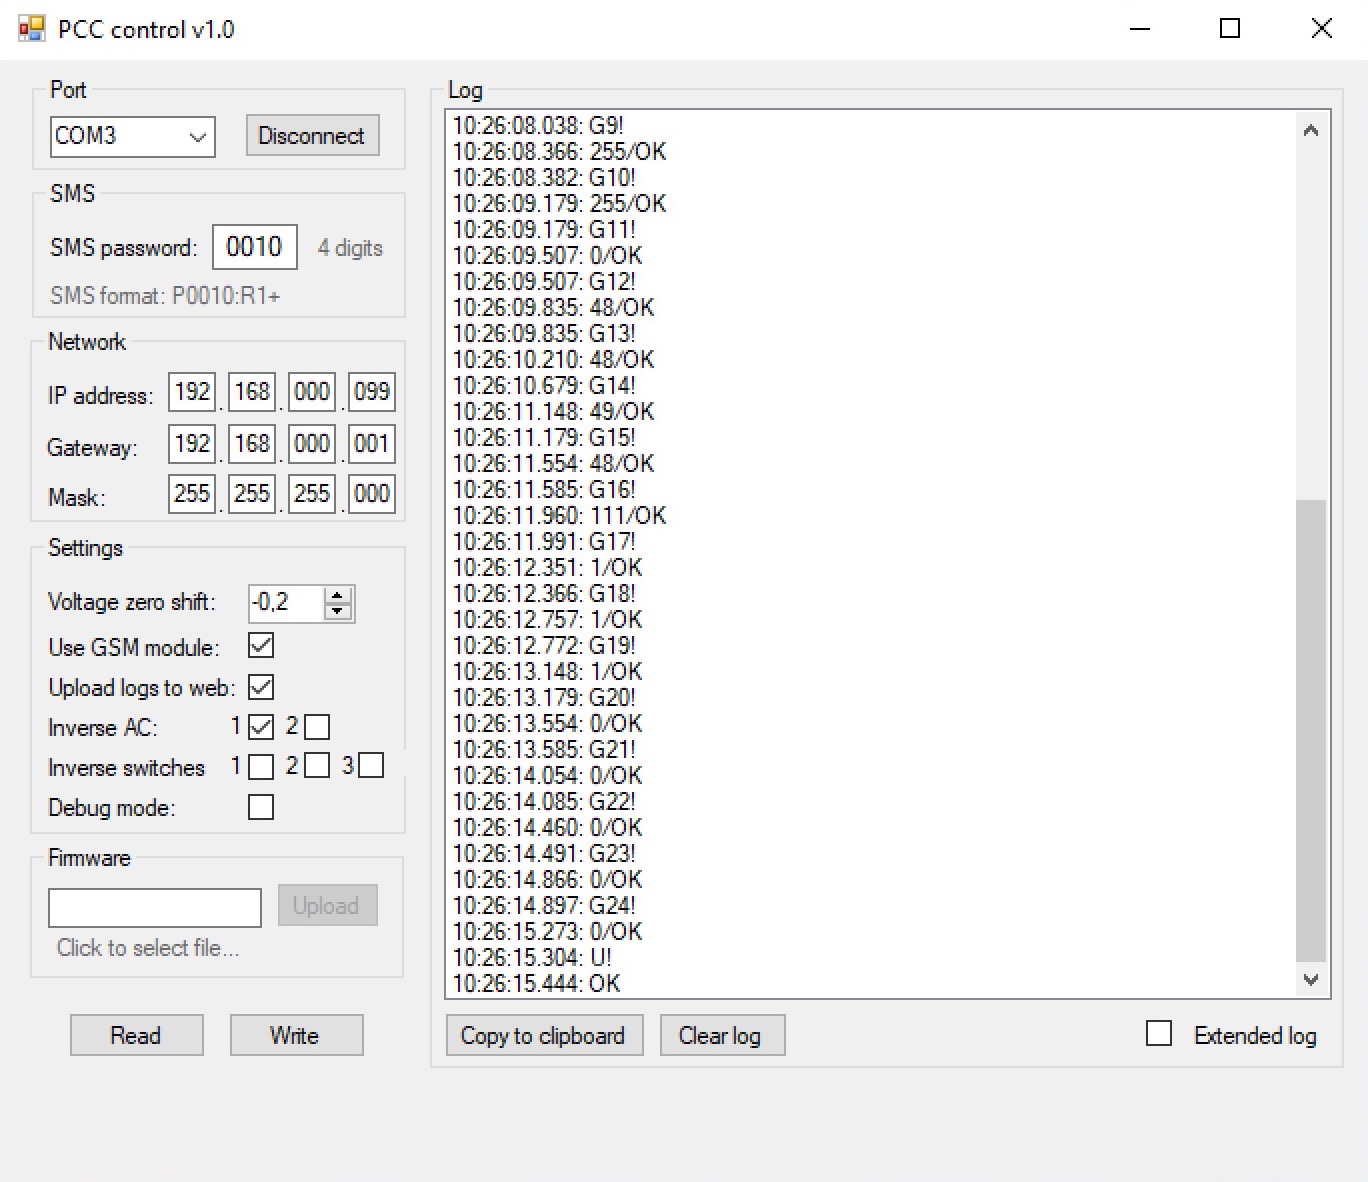
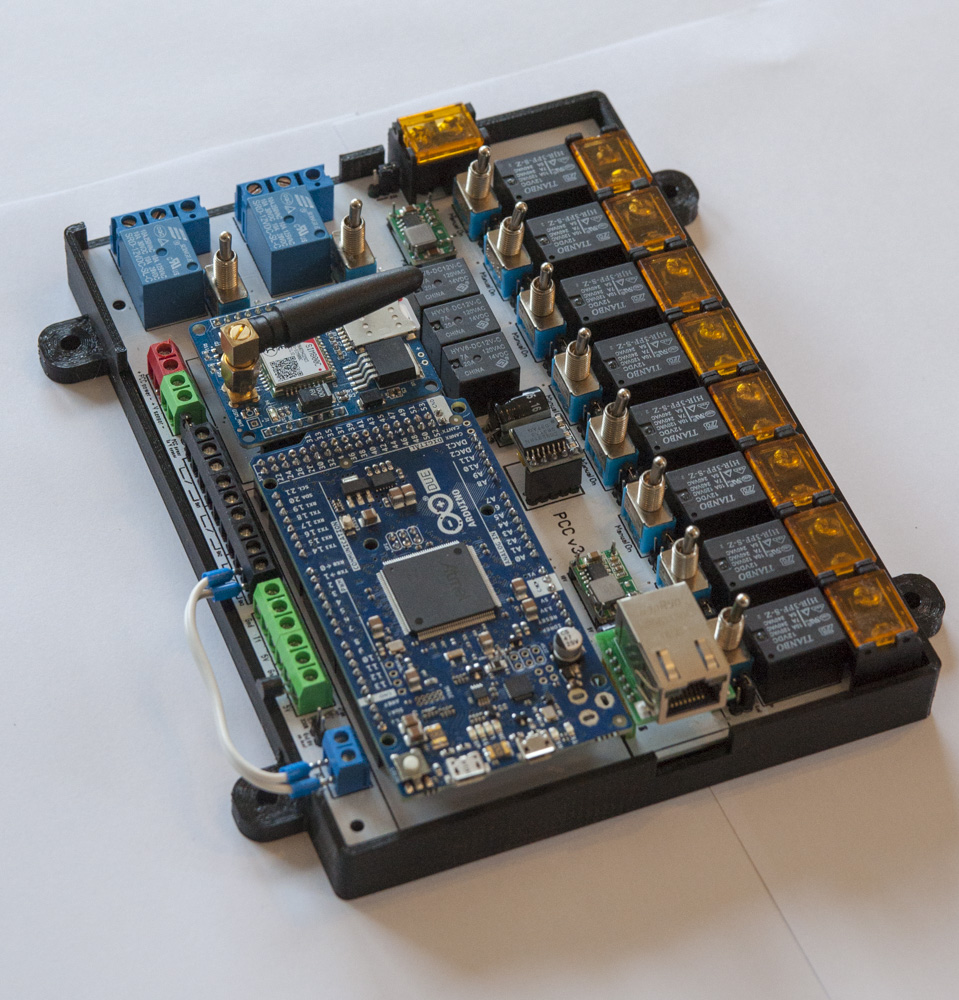
The GSM module allows you to control the MCC using SMS commands. Before you insert a SIM card, you must disable the PIN code request on it.

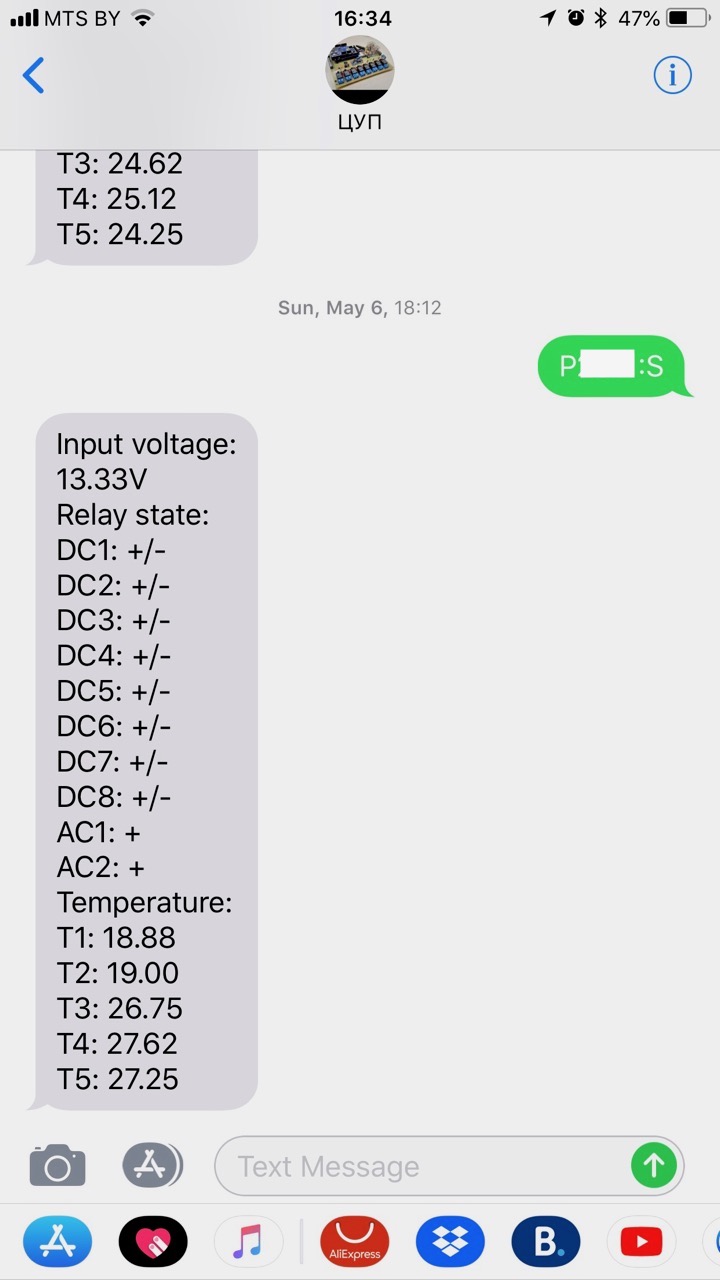
Command line example: P1234: R0-

where 1234 is the SMS password (configured using the PCC configurator).

SMS commands:
R0- - turn off the channel number 1
R0+ - turn on the channel number 1
R0/ - turn off the channel number 1, pause 2 seconds, turn on.
R0= - turn off the channel number 1, pause 15 seconds, turn on.
X0- - turn off the additional relay 1
X0+ - turn on the additional relay 1
X0/ - turn off the additional relay 1, pause 2 seconds, turn on.
X0= - turn off the additional relay 1, pause 15 seconds, turn on.
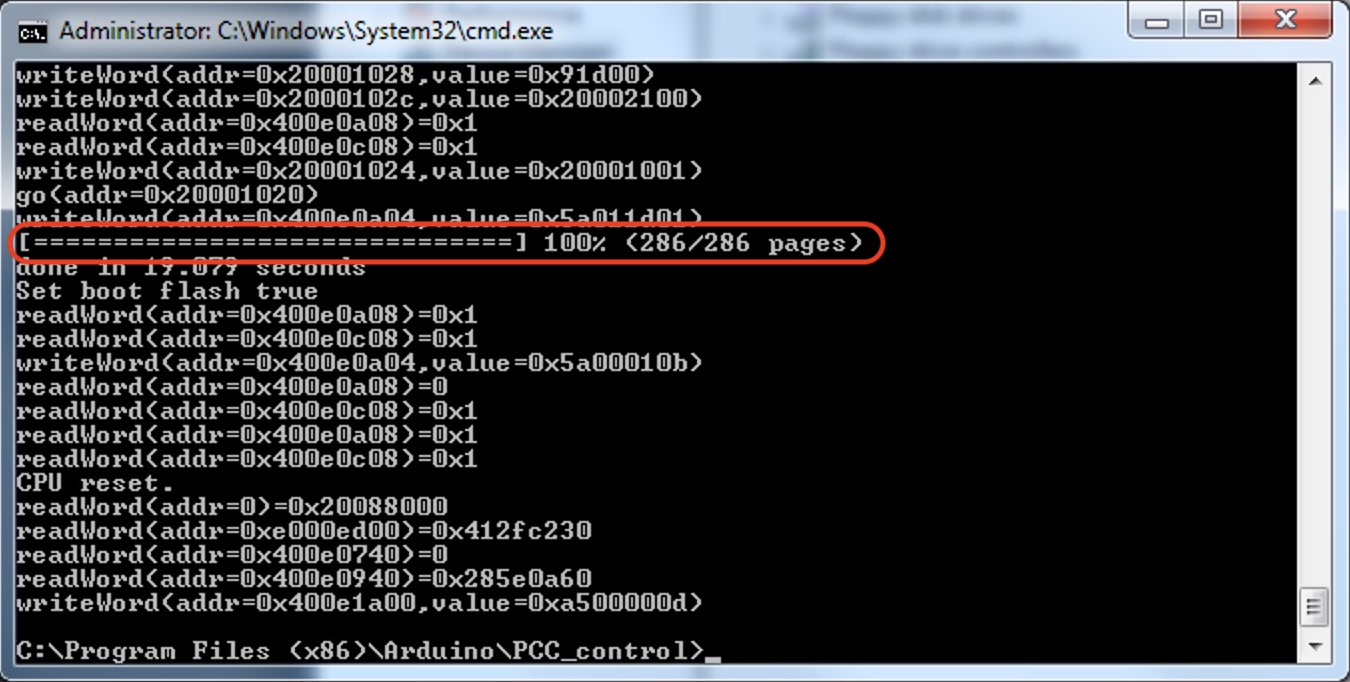
E - reset the Ethernet card.
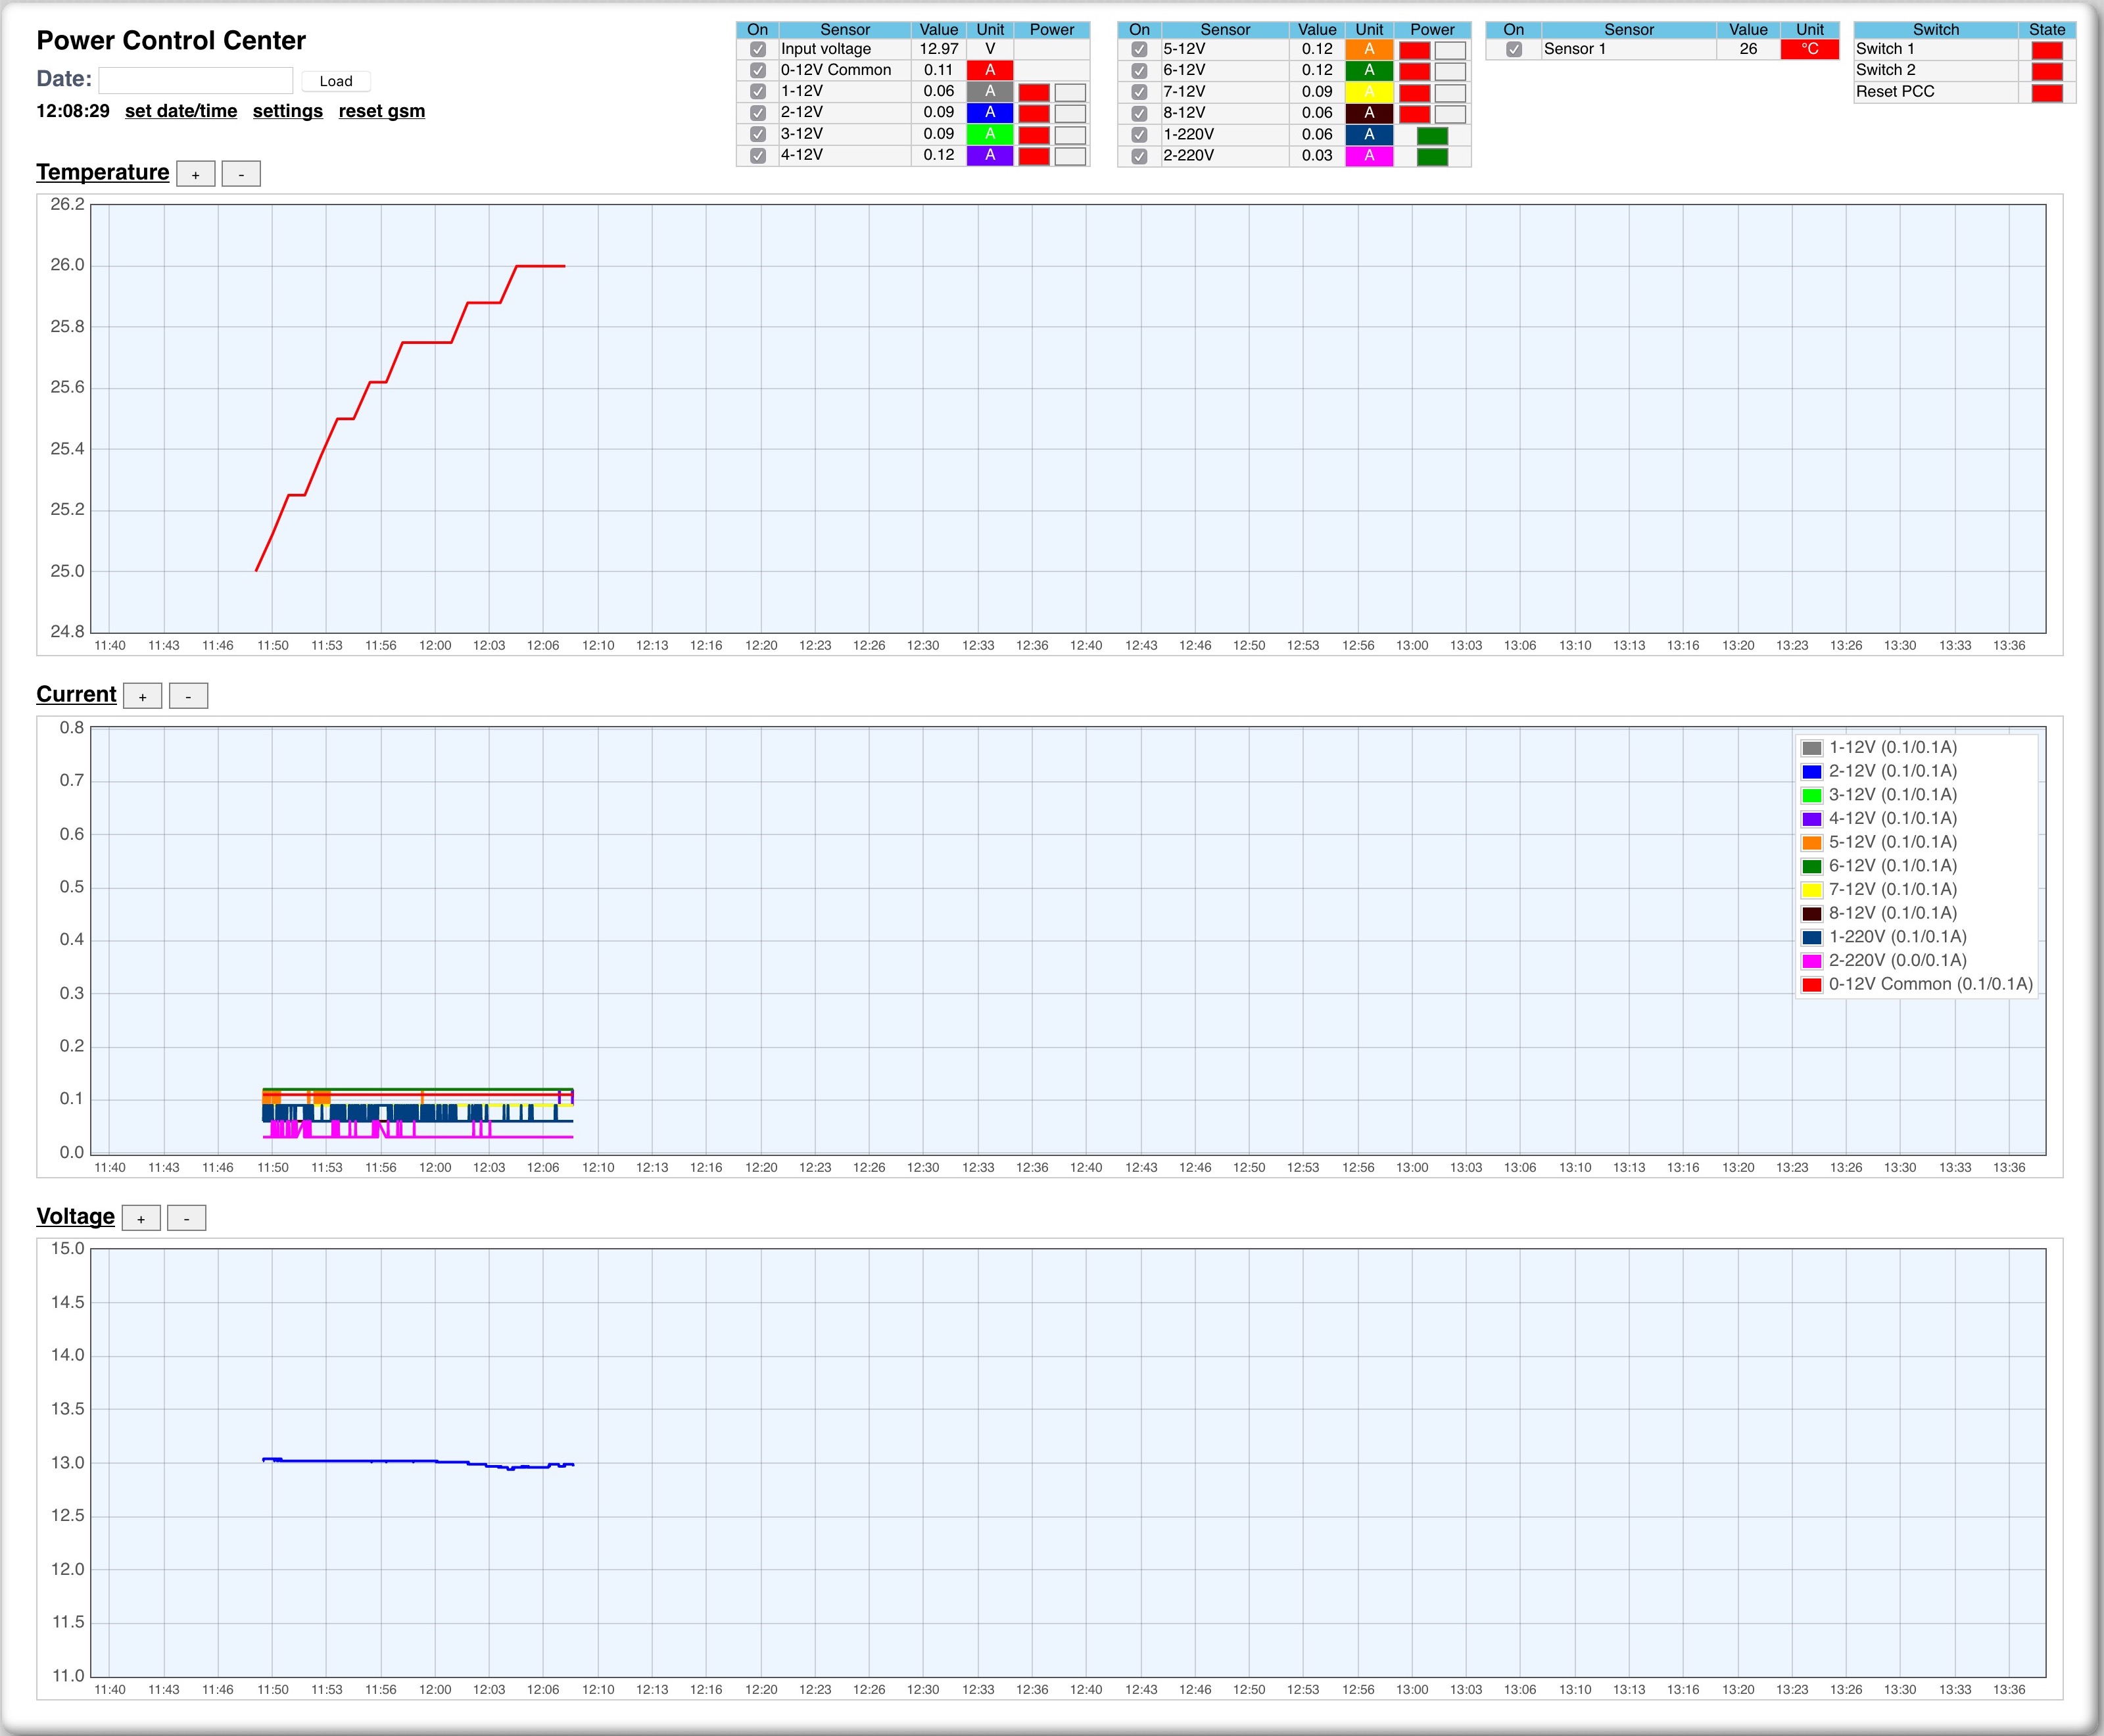
S - receiving SMS with PCC status.

Updating the firmware of PCC

To obtain a new version of the MCC firmware, please contact us.

In order to update the PCC firmware, you need to connect the PCC via a USB cable to the computer. In the device panel, you should see a new device - Arduino Duo Programming Port (COMXX).

PCC Web Management Interface

In this screenshot, you can see what the PCC web management interface looks like.

In the upper part are located:

1. The control links panel with the loading window of the PCC logs with the current time.
2. Panel of control buttons for PCC channels on 12V and 220V, with the values of currents and voltage on the batteries.
3. Panel of temperature sensors.
4. Button panel of additional PCC relays.

First step for Setup of PCC

The initial configuration of the PCC includes:

1. Setting a 4-digit password for SMS commands.
2. IP address.
3. Gateway.
4. Mask of network.
5. Voltage correction on the voltage sensor.
6. Turn on / off the ability to control via SMS commands.
7. Sending logs to an external server on the Internet.
8. Inversion on channels ~ 220 /110
9. Turn on inversion on additional relay channels.
10. Turn on debug mode on the PCC with the subsequent output of internal logs.

General Description of PCC Connections

The photo shows the PCC connectors.

220V channels are inversion (switch on or off by default). 12V channels are single-pole (switching on only + 12V). -12V is connected directly from the power supply to consumers.

Installation and setup of Heated Weather Station

You need to install a weather station at an angle of about 15 degrees to the horizon and in the direction of the most likely wind in your area. Those. in the direction from where the clouds usually come. A photo of the installation of the weather station in one of our observatories you see below.